Pi-hole is a DNS sinkhole that blocks advertisements, trackers, and other unwanted content from being served to devices on your network.
It can be run on a Raspberry Pi or other hardware, but running it in a Docker container has some benefits, such as easier installation and management.
If you are also new to Docker, check out my previous post on how to get started with Docker.
A Bit of History
The Pi-hole project was started by Jacob Salmela in 2014 as an open source alternative to AdTrap, which was a device that would block advertisements and tracking domains at the network level.
Salmela, a former system administrator, was looking for a solution that would block ads and tracking for all devices on his home network, without having to install ad blockers on each individual device.
The Pi-hole quickly gained popularity among privacy-conscious users and became a popular tool for blocking ads and tracking domains at the network level.
Today, the Pi-hole project continues to be maintained and improved by a community of volunteers, with regular updates and new features being added.
How It Works
DNS
When you visit a Website, that site might be trying to load stuff from other domains (such as advertisements). So your computer makes a DNS query to find out the IP address of that resource.
Since the Pi-hole acts as a DNS server, it can tell your computer that SomeAdDomain.com exists at a fake IP address (usually 0.0.0.0), instead of loading the ad from the real domain, a blank page from the Pi is downloaded, thus “blocking” the ad.
If you are new to DNS, here’s a quick overview by Fireship.io.
Benefits
- Block ads and trackers: Pi-hole blocks ads, trackers, and other unwanted content at the DNS level, so it can be more effective than browser-based ad blockers that only block ads on the sites you visit.
- Faster browsing: By blocking unwanted content, Pi-hole can speed up browsing and reduce data usage.
- Network-wide blocking: Pi-hole can be set up to block ads and trackers on all devices on your network, including smartphones, tablets, and smart TVs.
- Easy to use: Once set up, Pi-hole requires minimal maintenance and can be easily managed through a web interface.
Setup
One-Step Automated Install
Those who want to get started quickly and conveniently may install Pi-hole using the following command:
| |
Install with Docker and Docker Compose
If you are familiar with Docker and Docker Compose, you can utilize them to setup a Pi-hole in a container.
Create Docker Compose File
Create a Docker Compose file that defines our Pi-hole container.
Create a new file named docker-compose.yml in a new directory and paste the following contents:
| |
This Docker Compose file specifies the Pi-hole image, container name, restart policy, environment variables, volumes, DNS servers, and ports.
You can customize some of the values in this file, such as the timezone TZ, the web interface password WEBPASSWORD, and the DNS servers.
The volumes section specifies the directories where Pi-hole will store its configuration files and blocklists.
Start Pi-hole Container
With the Docker Compose file created, we can start the Pi-hole container by running the following command in the same directory as the docker-compose.yml file:
| |
You can learn more about the Docker installation method here
Access Pi-hole Web Interface
Once the container is running, you can access the Pi-hole web interface by opening a web browser and navigating to http://<ip_address_of_docker_host>
If you’re running Docker on your local machine, you can use http://localhost or http://127.0.0.1.
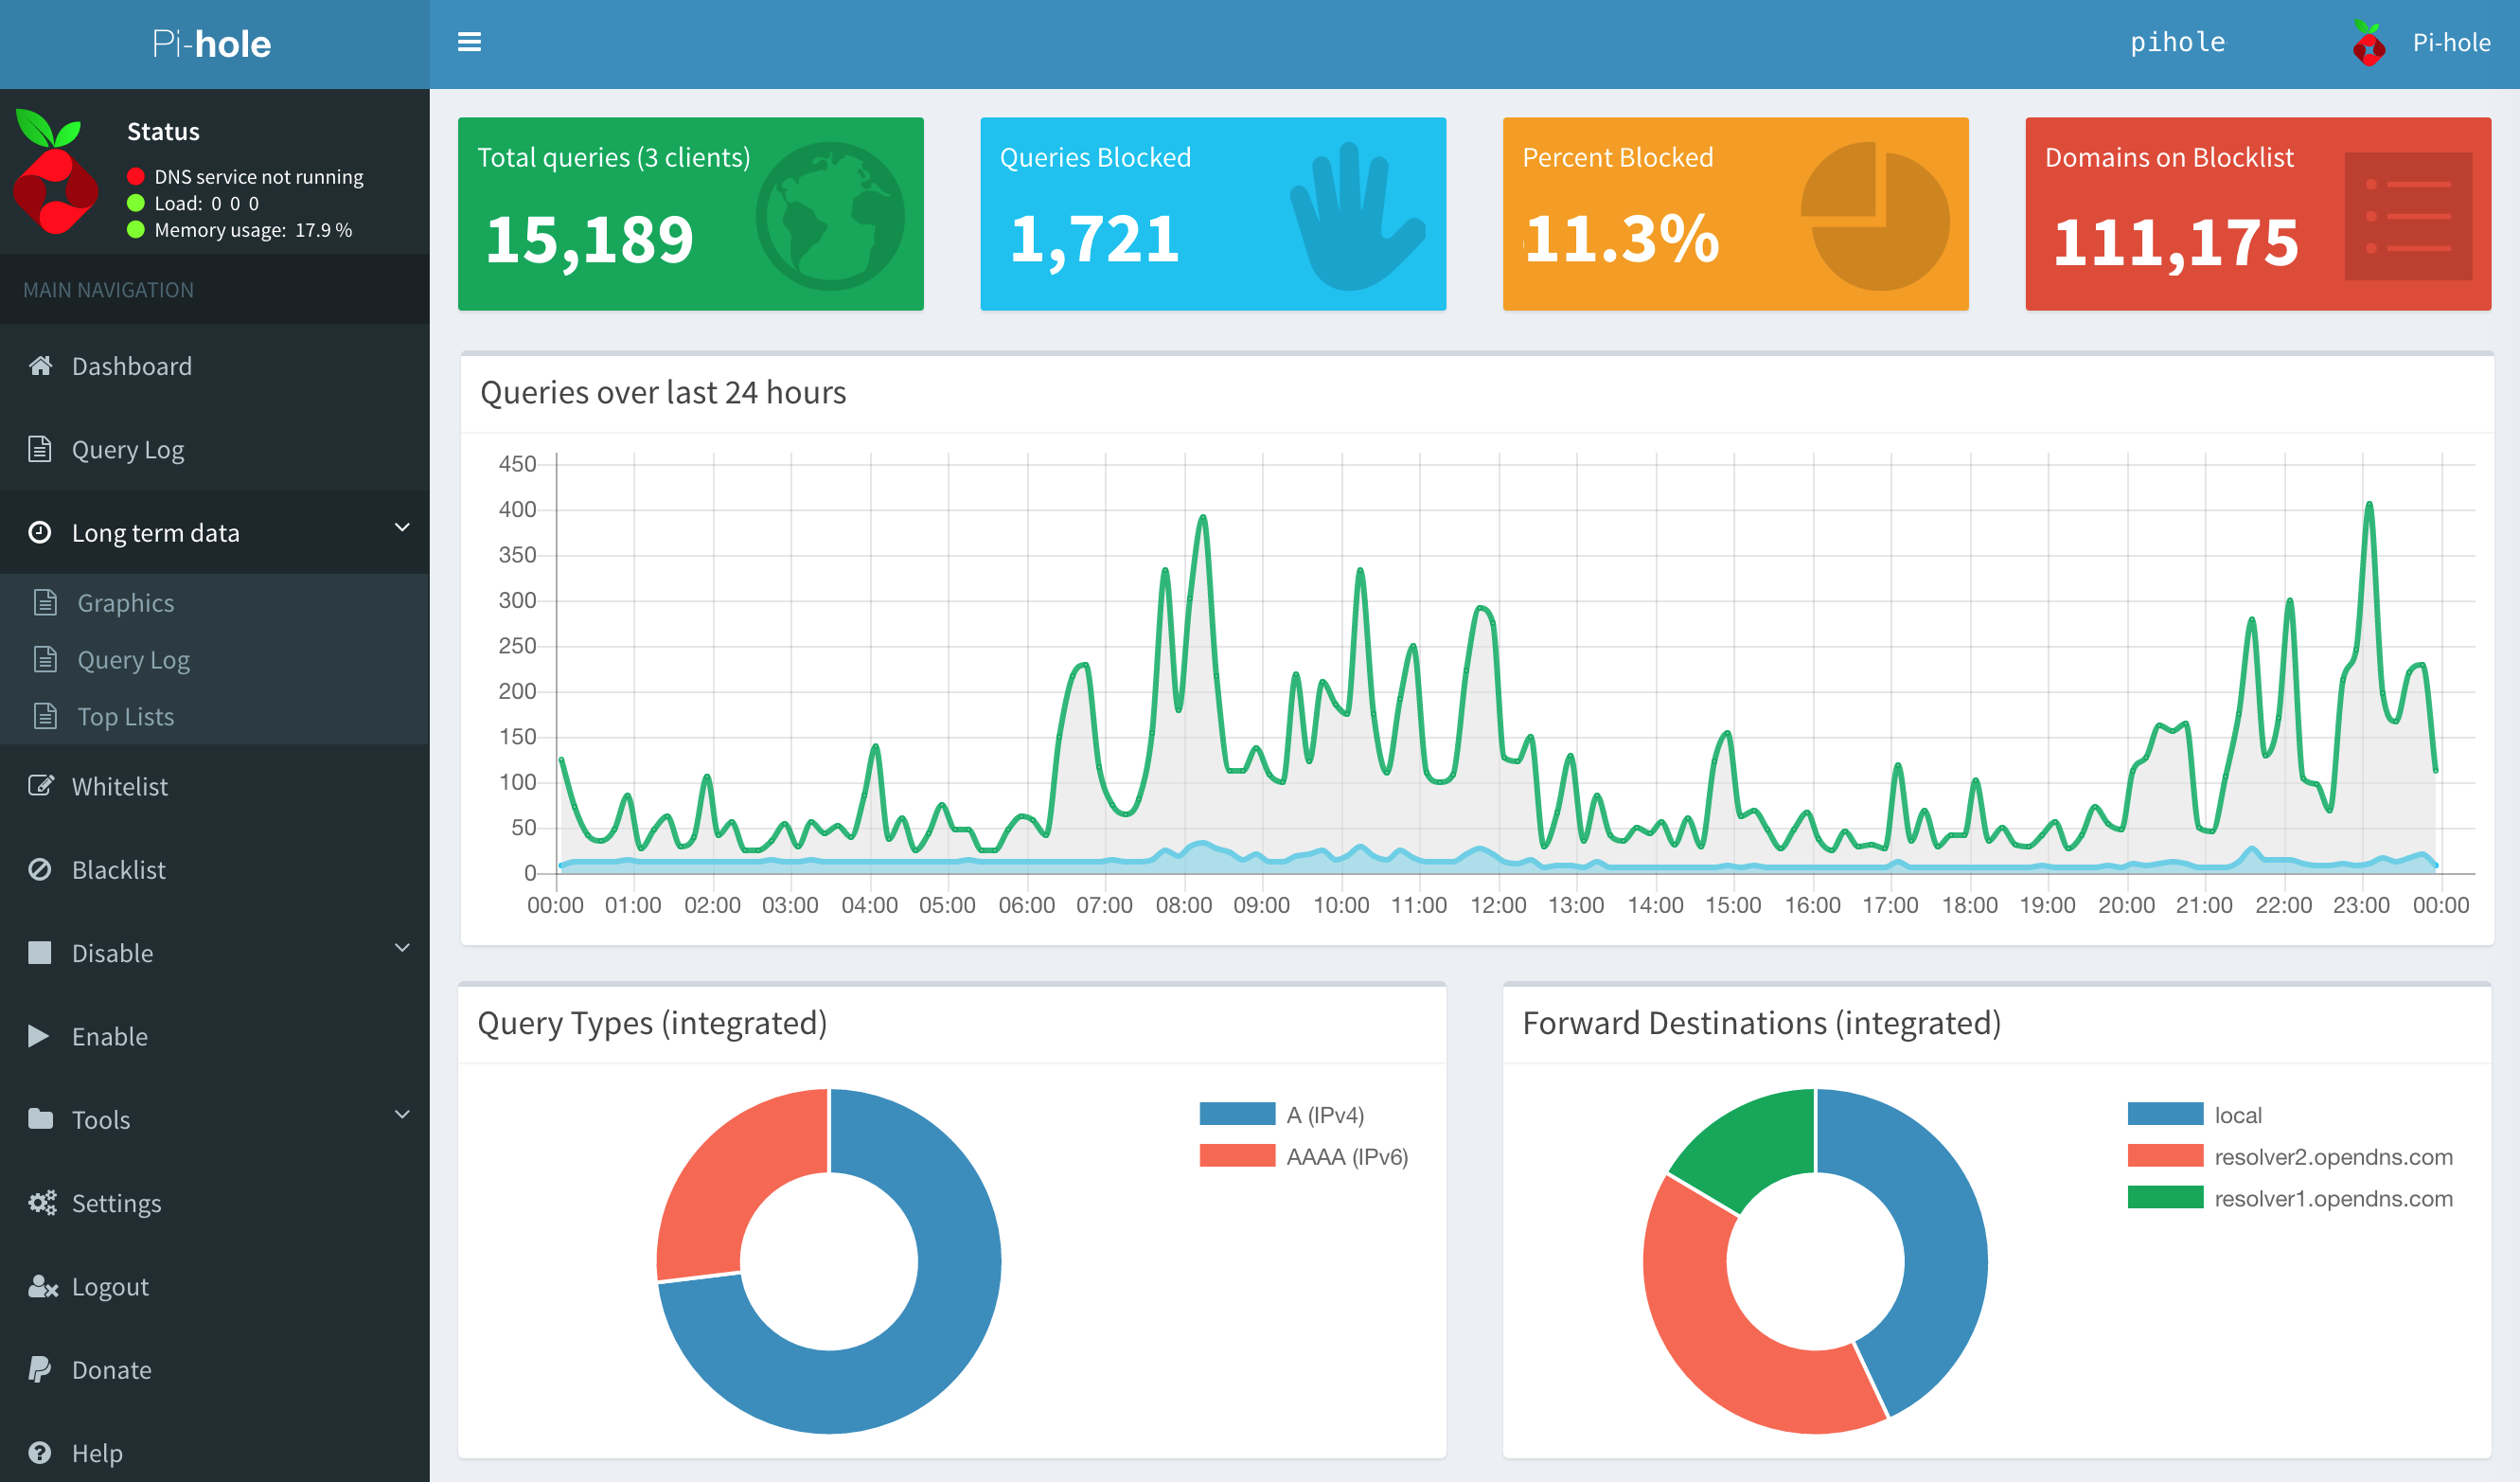
You should see the Pi-hole web interface, which allows you to configure Pi-hole, view statistics, and manage blocked domains.
Configuration
DHCP Settings on Router
Before Pi-hole can start blocking ads and trackers, you will need to configure your router to have DHCP clients use Pi-hole as their DNS server, which ensures all devices connected to your network will have content blocked without any further intervention.
This will of course vary depending on your router’s model and make. Consult with your router manufacturer’s guide on how to perform the above.
If your router does not support setting the DNS server, you can use Pi-hole’s built-in DHCP server; just be sure to disable DHCP on your router first (if it has that feature available).
Manual Device Configuration
As a last resort, you can manually set each device to use Pi-hole as its DNS server.
Once your devices are using Pi-hole as their DNS server, Pi-hole will start blocking ads and trackers automatically.
Update Pi-hole
To update Pi-hole to a newer version, you can simply run the following command:
| |
If you setup your Pi-hole with Docker and Docker Compose, run:
| |
This will pull the latest version of the Pi-hole image and recreate the container with the new image.
Conclusion
Setting up a Pi-hole Docker container using Docker Compose is an easy and convenient way to block ads and trackers on your network. With Pi-hole, you can speed up browsing, reduce data usage, and block unwanted content at the DNS level. Docker Compose makes it easy to manage and deploy Pi-hole, and the web interface allows you to configure Pi-hole and view statistics.